
Did you know? You can use Jamzone on your Windows computer. This is how:
Microsoft announced ‘native’ support of Android Apps from 2022. But in the meantime, you can already achieve the same result using BlueStacks.
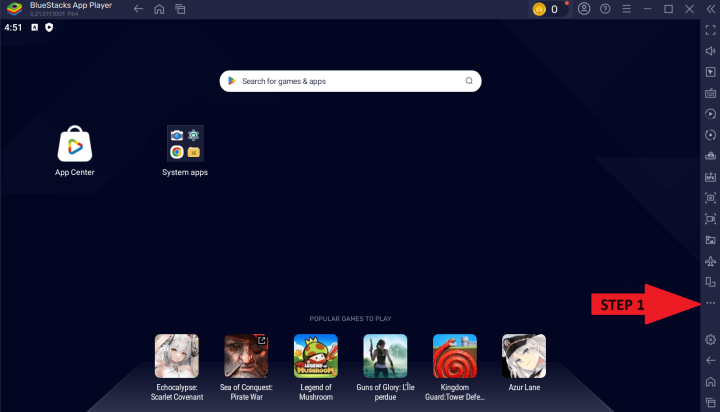
Below is a quick start guide for Jamzone on Windows with BlueStacks:
- Download and Install BlueStacks 5 for Windows
- Launch BlueStacks 5 - Android Pie 64-bit (source: BlueStacks)
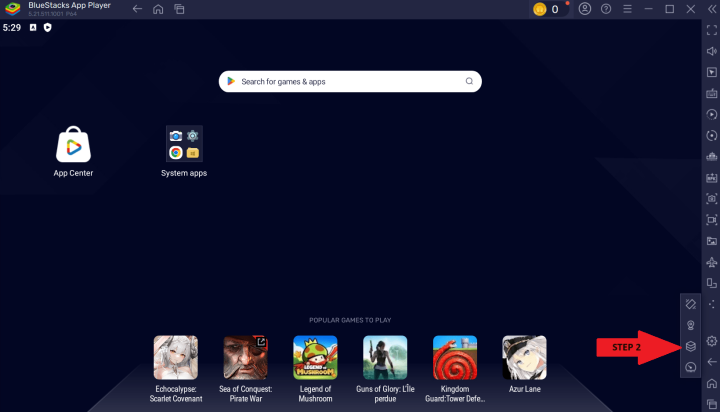
- Click on the Multi-instance Manager icon on the side toolbar.
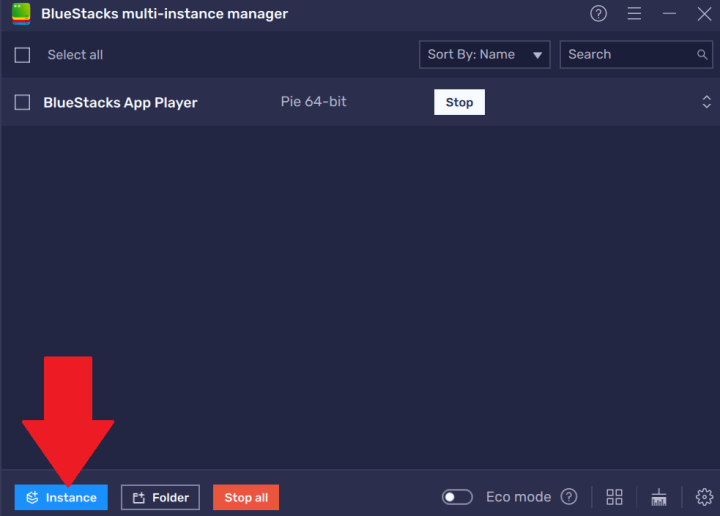
- The BlueStacks Multi-Instance Manager will open on your screen. Here, click on "Instance".
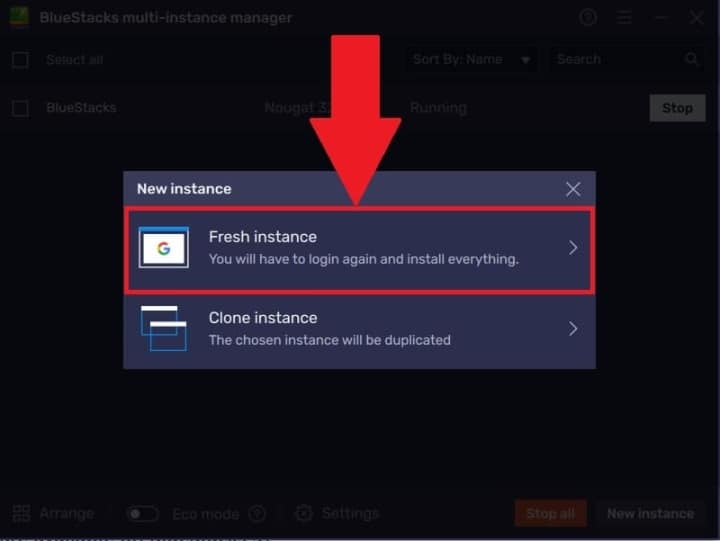
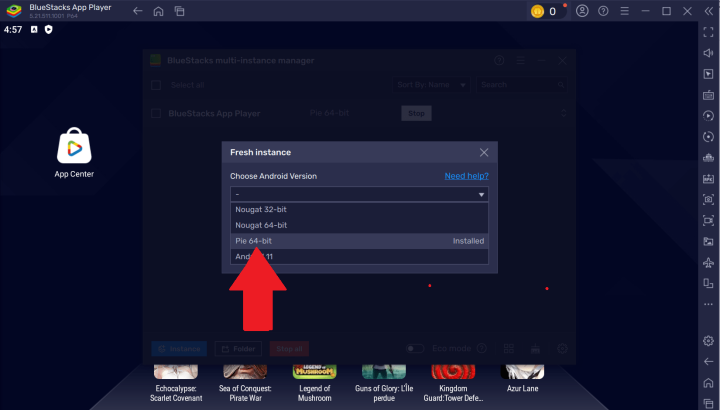
- Now, select "Fresh instance".
- The next screen allows you to select the Android version from a dropdown menu. Click on "Pie 64-bit", as shown in the image.
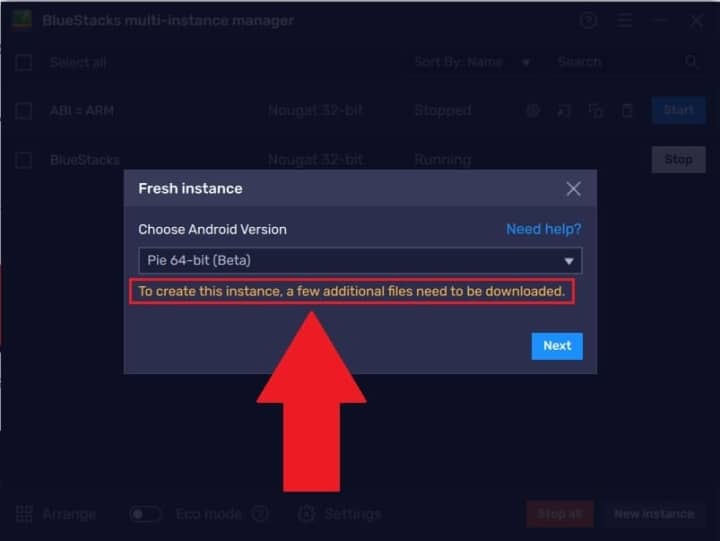
- If you've selected the Pie 64-bit Android version for the first time, a message will appear asking you to download additional files associated with it, as shown below. Click on "Next" to continue.
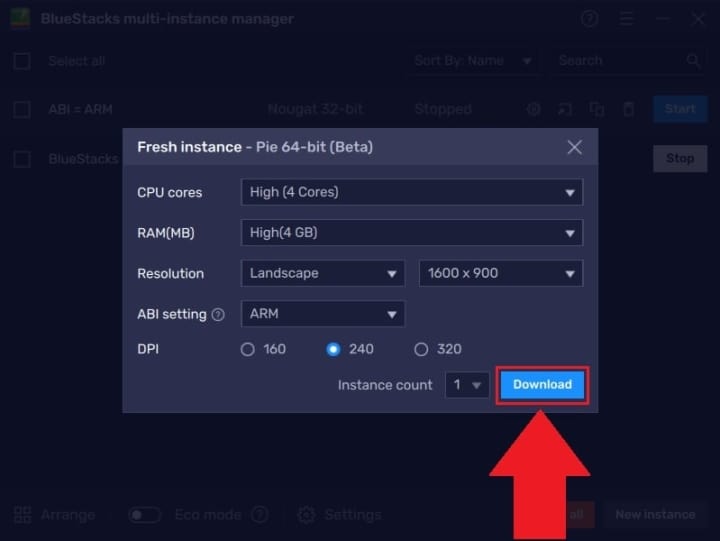
- Now, you will have to customize the instance as per your preference by specifying the following:
- CPU Cores: High (4 cores)
- RAM (MB): High (8 GB)
- Resolution: 1920x1080
- ABI setting: x86 & ARM
- DPI: 240
- Instance count: 1
- Then click 'Download' (or 'Create' if you already have downloaded the additional files)
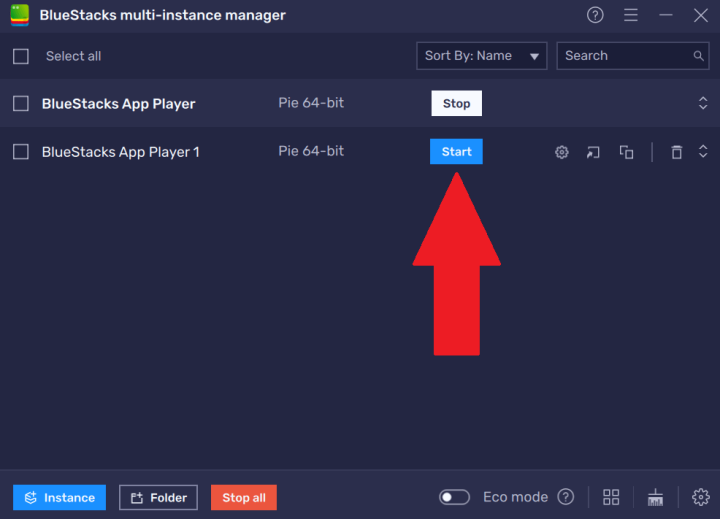
- The instance you have created will now appear in the Multi-Instance Manager. Click on "Start" to begin using it.
- Click on the Multi-instance Manager icon on the side toolbar.
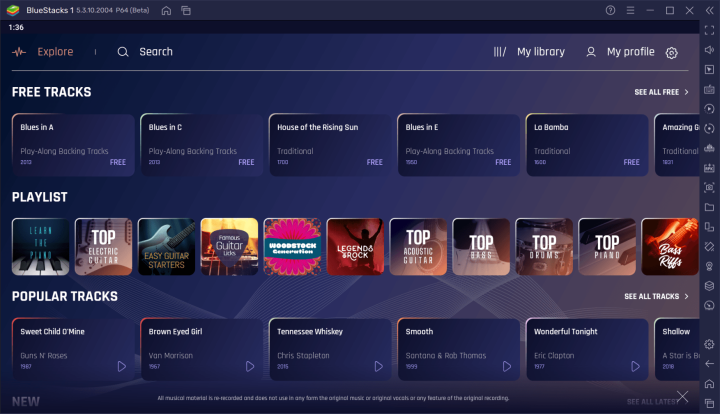
- Download and run Jamzone
- Follow these steps:
- Once you’re signed in, you’ll be able to download the Jamzone app with ease!
- Login and download your songs.
- Follow these steps:
- Play!
To mute notification sounds on BlueStacks and enjoy Jamzone, you can follow the tips provided directly by BlueStacks: How to manage notifications for BlueStacks Services.
This is how you can enjoy our complete catalog and features from your Windows machine!
Happy Jamming!